ImResizer is a simple and efficient online tool that allows you to resize images effortlessly. Whether you need to adjust the dimensions for printing, social media, websites, or presentations, ImResizer provides a fast and user-friendly solution. Below is a step-by-step guide on how to use ImResizer to resize images using your preferred measurement units, ensuring high-quality results.
Step 1: Upload Your Image
To begin, visit ImResizer on your web browser. Once you are on the homepage, you will see an option to upload your image. Click the “Upload” button to select an image from your computer, smartphone, or cloud storage. Alternatively, you can simply drag and drop your photo into the upload area for a faster experience.
ImResizer supports various image formats, including JPG, PNG, GIF, and BMP, allowing you to resize images regardless of their original format. Once the image is uploaded, the tool will automatically load it into the editor, ready for resizing.
Step 2: Enter the Desired Dimensions
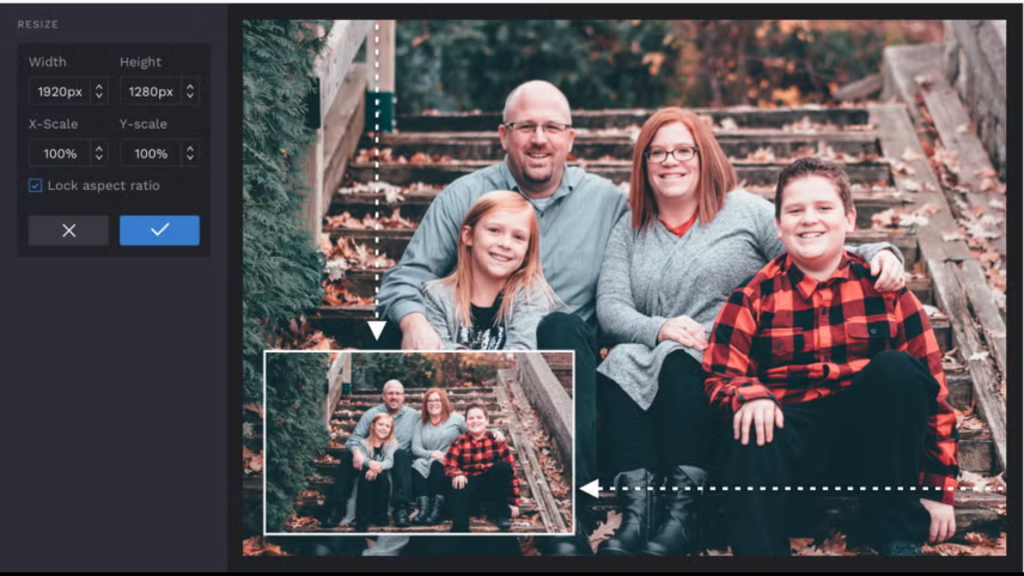
After uploading your image, you can specify the new size by entering the required dimensions. ImResizer allows you to resize images using different measurement units, including centimeters (cm), millimeters (mm), inches (in), and pixels (px). This flexibility makes it suitable for a wide range of applications, from printing high-quality images to optimizing visuals for online use. If you are resizing an image for printing, it’s essential to choose the correct DPI (dots per inch) setting.
A 300 DPI resolution is recommended for high-quality prints, while a 72 DPI setting is ideal for web images to ensure fast loading speeds without compromising quality. For those resizing images for specific uses, here are some common dimension requirements:
Step 3: Preview Your Resized Image
Once you have entered the desired dimensions, ImResizer provides a real-time preview of how your image will look. This feature helps ensure that the image maintains its aspect ratio, preventing it from appearing stretched or distorted. If the image looks incorrect, you can make adjustments before proceeding to download it. You may also need to select whether you want to maintain the aspect ratio or crop the image to fit the exact dimensions you specified.
Step 4: Download Your Resized Image
After confirming that the resized image looks perfect, click the “Download” button to save your image. The file will be processed and instantly available for download in the same format as the original image. If needed, you can repeat the process to resize additional images or make further adjustments. Since ImResizer is an online tool, there’s no need to install any software, making it a quick and convenient solution for resizing images anytime, anywhere.
Why Use ImResizer ?
ImResizer offers several benefits that make it one of the best tools for resizing images: